Blog Post Title: DIY Artificial Insemination with Donor Sperm: A Personal Journey
Summary:
Becoming a parent is a dream for many individuals and couples, but for some, it may not come as easily as they had hoped. This was the case for me and my partner, as we struggled with fertility issues for years. After much research and consideration, we decided to try DIY artificial insemination with donor sperm. It was a journey filled with emotions, challenges, and ultimately, success. In this blog post, I will share our personal experience with DIY artificial insemination and provide some helpful tips for those considering this route to parenthood.
The Decision to Try DIY Artificial Insemination:
After years of trying to conceive naturally and undergoing various fertility treatments, my partner and I were feeling exhausted and defeated. We knew that our chances of conceiving through intercourse were slim, and the cost of assisted reproductive techniques such as intrauterine insemination (IUI) or in vitro fertilization (IVF) was out of our budget. That’s when we stumbled upon DIY artificial insemination with donor sperm.
The idea of using donor sperm was initially daunting for us, but after much discussion and research, we felt it was the best option for us to have a child genetically related to one of us. We were also drawn to the idea of being able to do the insemination in the comfort of our own home and on our own terms.
Finding a Donor:
The first step in our DIY artificial insemination journey was to find a donor. There are various options for finding donor sperm, including sperm banks, online sperm donation websites, and private donors. We decided to use a reputable sperm bank as it provided us with medical and genetic information about the donors, along with the assurance that the sperm had been properly screened and tested.
The process of selecting a donor was a bit overwhelming at first, with so many options to choose from. However, we focused on finding a donor who closely resembled my partner, both physically and in terms of personality traits. We also made sure to read through the donor’s profile thoroughly and consider their medical history and family background.
Preparing for the Insemination:
Once we had chosen a donor and ordered the sperm, it was time to prepare for the insemination. We purchased an at-home insemination kit, which included a syringe, cervical cap, and ovulation predictor kit. We also did some research on the best time to inseminate, which is usually around the time of ovulation.

DIY Artificial Insemination with Donor Sperm: A Personal Journey
The insemination process involved thawing and preparing the sperm according to the instructions provided by the sperm bank. We then used the syringe to inject the sperm into a cervical cap, which we inserted into my partner’s cervix. We repeated this process for three consecutive days, as advised by our doctor.
The Emotional Rollercoaster:
The two-week wait after the insemination was an emotional rollercoaster for us. We were constantly questioning whether we had done everything correctly and if it would be successful. We tried to stay positive and distract ourselves with other activities, but it was challenging not to think about the possibility of finally becoming parents.
The moment we found out we were pregnant was indescribable. We were overjoyed, relieved, and grateful that our DIY artificial insemination attempt had worked. The journey had been a rollercoaster of emotions, but it was all worth it in the end.
Tips for Those Considering DIY Artificial Insemination:
1. Do Your Research: Before embarking on this journey, make sure to do thorough research on the process, the potential risks and success rates, and the legal implications. It’s also crucial to research different donor options and choose a reputable sperm bank.
2. Seek Medical Advice: It’s always best to consult with a doctor before attempting DIY artificial insemination. They can provide you with guidance on the process and any precautions you should take.
3. Have a Support System: Going through DIY artificial insemination can be emotionally taxing, so it’s essential to have a support system in place. This could be your partner, family, or friends who can provide emotional support and help with the process.
4. Be Patient: It’s important to remember that becoming pregnant through DIY artificial insemination may take multiple attempts. Be patient and try not to get discouraged if it doesn’t work the first time.
5. Practice Proper Hygiene: It’s crucial to maintain proper hygiene during the insemination process to reduce the risk of infection. Make sure to wash your hands and sterilize any equipment used.
In Conclusion:
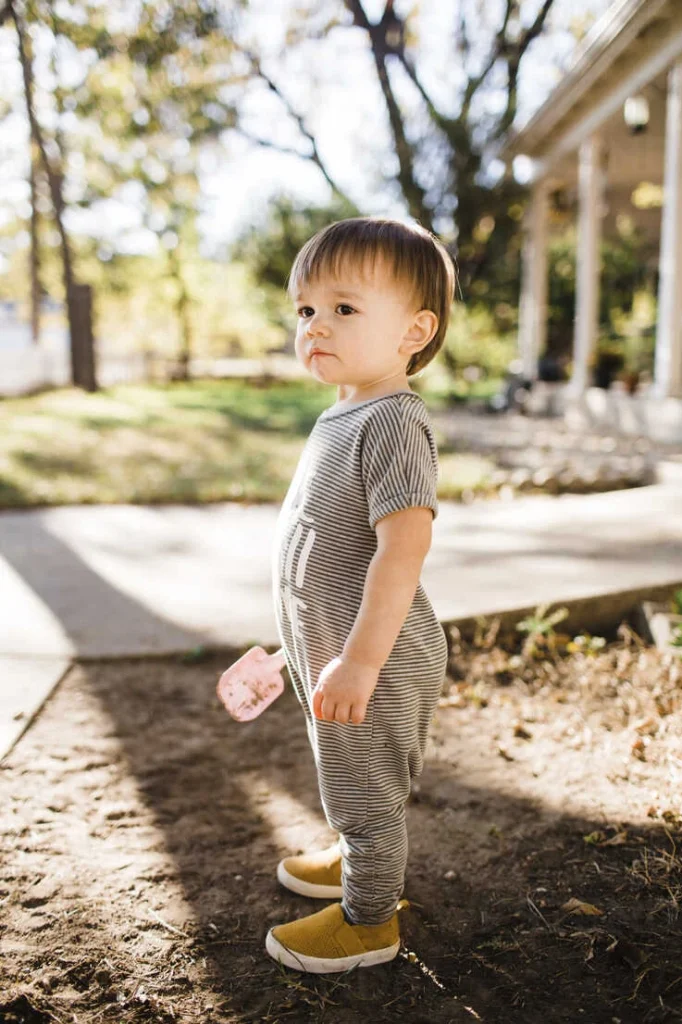
Our journey to parenthood through DIY artificial insemination was one filled with challenges, but it was also one of the most rewarding experiences of our lives. We are now proud parents to a beautiful baby boy, and we couldn’t be happier. For anyone considering this route to parenthood, I hope our story has provided some insight and inspiration.